Wolfenstein: The New Order Chapter 3, also known as A New World, begins after you an Anya escape from the Asylum and go to her grandparents.
Blazkowicz learn that 14 years have passed since his accident and that the Nazis conquered the world.
The only resistance members are imprisoned somewhere in Berlin, but in order to catch the night train to Berlin they have to pass through a Nazi checkpoint.
Not all the collectibles can be revealed on the map in Chapter 3 by killing commanders.
Therefore is recommended to follow the Wolfenstein: The New Order collectibles guide in the same order as below.
Chapter 3 Mission Details
Were outcasts in this world. On the run from the wolves.
I can hear them, howling in the dark. Need to keep Anya and her grandparents safe.
Get us through this checkpoint. Reach the Berlin night train. Long way to go.
Enigma Codes: 7
Letter: 1
Gold: 4
Maps: 1
Health Upgrade: 2
Wolfenstein: The New Order Chapter 3 Collectibles Guide
Gold #1 (Gold Watch)
At the beginning of the chapter you are in a basement where you need to interrogate a captured enemy. The first Gold piece is on the small table next to him.
Health Upgrade #1
To interrogate him you need to use a chainsaw, but you cant operate it without proper protection.
Open the closet to get the apron and then grab the first Health Upgrade in Chapter 3 from the toy box inside the closet.
Letter (Romans Letter)
Next, grab the goggles from the drawer of the desk where the chainsaw is.
Turn around but do not pick the chainsaw yet. Instead, search for the Letter collectible in the same drawer.
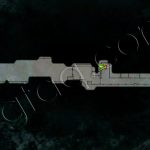
Enigma Code #1 (Piece 1:9)
When you reach the checkpoint you automatically get out from the trunk of the car. On your left is a hole in the ground where you can access a sewer pipe.
Get inside the sewer and at some point the path turns left, right before exiting the sewer through another pipe.
The Enigma Code is on the ground next to the pipe.
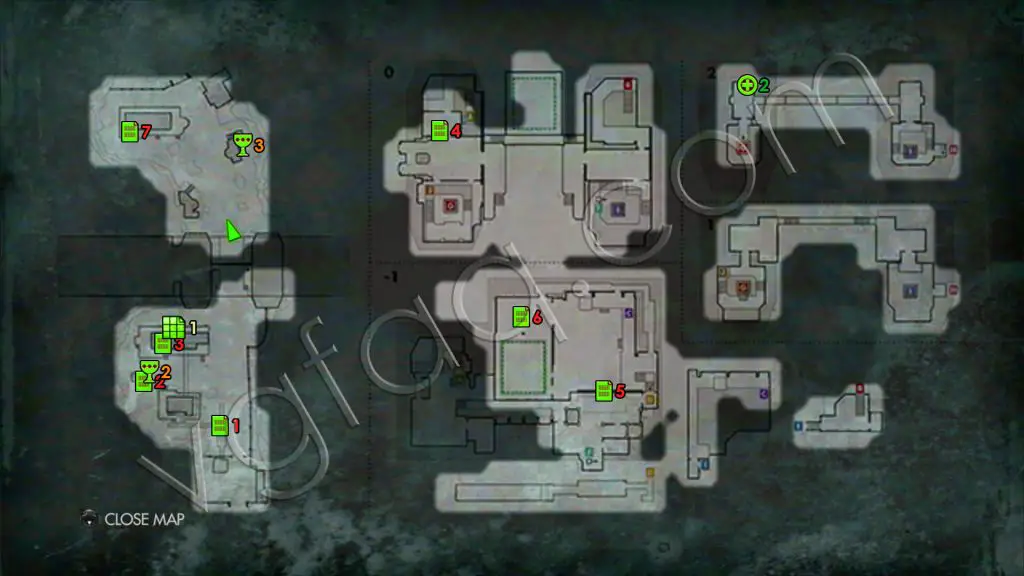
Enigma Code #2 (Piece 8:1)
Between the two main buildings with the commanders is a small shed (west on the map).
On the southern wall of the shed there are some pictures and the Enigma Code documents with a knife stuck in them.
Gold #2 (Gold Egg)
Go around the shed (northern wall) and you should see the Gold piece inside the shed, behind a broken plank.
Map
Get to the top floor of the larger building thats near the shed (is where you kill a commander).
As soon as you enter the room (top floor) you should see the Map of the area on the wall in front of you.
Enigma Code #3 (Piece 8:2)
Turn left after you pick up the map to see the third Enigma Code piece on the table in the corner.
Enigma Code #4 (Piece 8:3)
The road is blocked by the checkpoint platform and you have to enter the building on the left to continue.
After you kill the soldiers head in the room to your right (from the entrance) and quickly turn left to find the Enigma Code collectible on a wire coil.
Health Upgrade #2
Inside the room thats on the opposite side from the room where you just picked up the Enigma Code is an elevator. Ride the elevator all the way to the top, head straight, and then look for the Health Upgrade behind the wire coil.
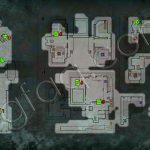
Enigma Code #5 (Piece 8:4)
The fifth Enigma Code in Chapter 3 can be found inside the room with the commander and the switch for the checkpoint platform.
There are many lockers on the left side of the room (while facing the wall with the blueprint of the truck), and inside one of them that is opened is the collectible (locker number 43).
Enigma Code #6 (Piece 8:5)
Behind the wall with the blueprint of the truck is a garage with the actual truck and a four-door car.
The sixth Enigma Code is inside the car, on the front passenger side.
Enigma Code #7 (Piece 8:6)
After you raise the checkpoint platform you can get in the next area. There are a lot of enemies, hence its best that you get rid of them first.
The largest building in the area is on the north-west side on the map (the commander is in this building if you take a stealthy approach). You can find the final Enigma Code on a desk inside the building, on the far side from the entrance.
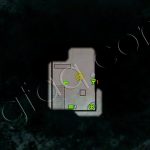
Gold #3 (Gold Medallion)
The third Gold piece may seem tricky to get. It is in the room thats under the guard tower across the building where you collected the Enigma Code, but the door is locked.
Go to the guard tower and detach the turret that is there (it uses a special ammunition that can pass through some metal panels).
Then go downstairs, around the tower, and next to the ladder you should see a wooden crate. Destroy the crate and shoot the panel to gain access to the locked room. The Gold collectible can be found on the small desk / drawer.
Gold #4 (Gold Door Knob)
Inside the train, once you are free to go to your room, head past the robot and the soldier and as soon as you reach the corridor (it has red carpets) turn left.
On the left side are some closets and the one at the end has a door that is not fully closed and swings as the train moves.
Look carefully behind the door to spot the Gold piece.