

The Sniper Elite 4 Deadeye Targets, also known as Stone Eagles, are the most interesting collectibles, and something you can expect to find in a game that’s based on sniping.
As you have probably guessed, the Deadeye Targets are only for the most accomplished sharpshooters and should put your sniping skills to a test.
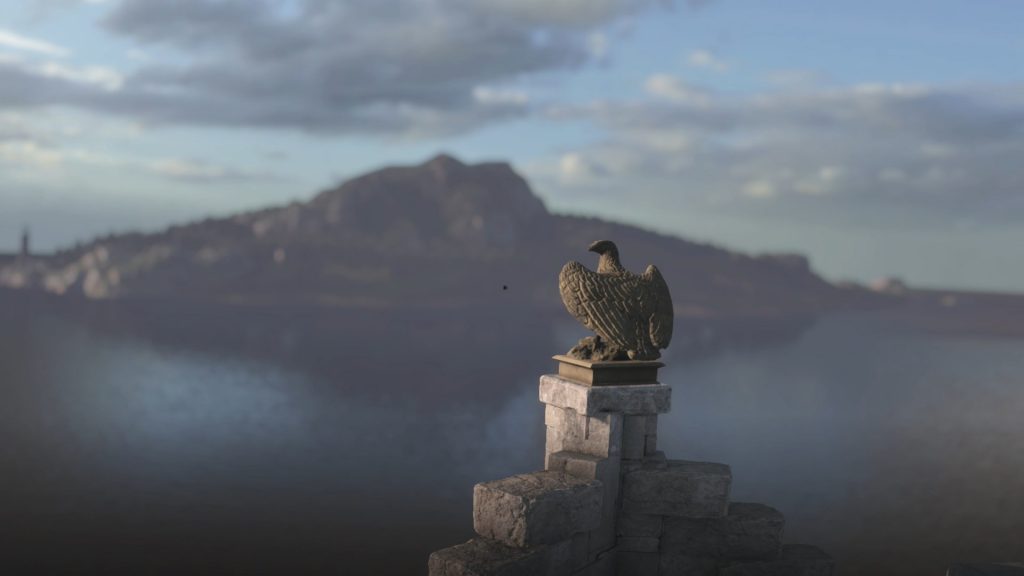
They take the shape of Nazi stone eagles and are placed in high places, which are hard to reach – but hey, that’s why you have your trusty sniper rifle, right?
Sniper Elite 4 Deadeye Targets / Stone Eagles Details
Sniper Elite 4 features 10 missions and you should keep in mind that 3 Deadeye Targets are always hidden on each map, no matter what. Because of a glitch, the game indicates that the Magazzeno Facility map has 9 Stone Eagles, which is false. This brings us to a total of 30 Sniper Elite 4 Deadeye Targets.
Just as before, your progress is saved automatically, so you can even die after you shoot a Stone Eagle.
This can be used to your advantage, because if you want to proceed stealthy, you can shoot the target, then reload the checkpoint – don’t worry if the stone statue is intact, your shot counted.
Unlike Letters, Sniper Reports, or Misc Documents which you have to pick up when you find them, the Deadeye Targets are the only Sniper Elite 4 collectibles that you need to shoot.
As a special reward, you unlock the A Bird in the Hand… achievement/trophy if you manage to destroy all Stone Eagles in the game.
Our Sniper Elite 4 Deadeye Targets collectibles guide aims to provide the exact locations of the Stone Eagles and offers shooting strategies when needed.
Note: We will use the terms Deadeye Target and Stone Eagle interchangeably.
Note: The guide does not include the collectibles from the two co-op Overwatch missions, Compound and Railyard.
Mission 1: San Celini Island

Deadeye Target #1
The first Deadeye Target in Mission 1 can be found early in the mission. As you progress through the narrow pathway towards the large area with the first objective, you come across a tower on the left-hand side (in which you can also find a Sniper Report).
Climb the ladder and go to the crack in the wall. Without falling down, look all the way to the left and you should spot the Stone Eagle in the distance, on top of a structure — use the binoculars.
Deadeye Target #2
Go to the location marked by a 2 on our map and you should spot the second Stone Eagle on top of a similar structure like the one mentioned above (it looks like a bombed tower).
Deadeye Target #3
The final Sniper Elite 4 Deadeye Target in San Celini Island is also sitting on a broken tower (look for the same structure). You can easily snipe it, even from a distance.
Mission 2: Bitanti Village

Deadeye Target #1
The second map is interesting, because you can mark all 3 Stone Eagles from the docks you reach by boat at the start of the mission. For the first one, go left and look for a small sailboat in the middle of the water; the target is on the deck, hard to miss.
Deadeye Target #2
For the second Deadeye Target in Mission 2, check the archway that stands at the entrance of the main road (use the map for a visual reference).
Deadeye Target #3
The third and last Stone Eagle is a bit tricky to see through the scope, so mark it beforehand using the binoculars. Look above the yellow houses, at the distant tower that has a red flag. The Deadeye target is right on top, above the flag.
Mission 3: Regilino Viaduct

Deadeye Target #1
To get the first Sniper Elite 4 Deadeye Target in mission 3 head to the large body of water marked by 1 on our map (near a wood mill). There is a rock pointing out of the water, and on top of it is the Stone Eagle.
Deadeye Target #2
The next one is really tricky to get, because it’s hard to see. Go near the Nazis’ transport depot (side objective) and stand on the main road (be aware of the armored car that is patrolling in the area).
Position yourself between the wooden shacks and look up, at the cliffs. Depending on your line of sight, you should spot the second Stone Eagle on the cliffs, between the two tallest trees.
Deadeye Target #3
In order to spot the third Deadeye Target, you have to climb up in the sniper tower overlooking the bridge with the railway gun.
Point the binoculars to the north-east side, at the highest cliff behind the tree line, to find the Eagle standing on top.
Mission 4: Lorino Dockyard

Deadeye Target #1
The first Deadeye Target is on the small island with the lighthouse. You can look for it on a rock halfway on the stone staircase.
Deadeye Target #2
Beside the train tracks is a red two stories building. Climb the wooden stairs on its side and point the binoculars toward the area outside the map bounds to spot a distant house. The Stone Eagle is sitting on a rock a few meters to the right of the house.
Deadeye Target #3
The building with the “amaro Berto” sign has a searchlight on its roof. Either climb on the roof or the stairs behind the building and look at the mountains on the east side — if you use your mini-map compass (west if you open the in-game map).
The last Deadeye Target is on a cliff that runs alongside the fence of the trainyard.
Mission 5: Abrunza Monastery

Deadeye Target #1
It’s really easy to get the first Deadeye Target in Mission 5. Just go to the courtyard with two houses and look on the roof of the ruined one. The Stone Eagle is sitting on the rafters and it can be shot with the pistol if you’re close enough.
Deadeye Target #2
To find the second Deadeye Target with ease, go to Castle Hill fort. Now look on the walls above one of the buildings inside the fort courtyard to spot the eagle (use the map for an accurate location).
Deadeye Target #3
Head to the large courtyard of the monastery. If you’re coming from the front side, climb the first set of wide stairs, then face the bridge at the top of the next set of stairs. Under the bridge there are two statues placed in nooks.
The one on your right-hand side is the Stone Eagle collectible. You can shoot it with the pistol to preserve your sniper rifle ammo.
Mission 6: Magazzeno Facility

Deadeye Target #1
Go behind the building/fortification with the big cannon to find an open space surrounded by cliffs. Above those said cliffs you can see a small portion of the base and on top of it, the Stone Eagle. It’s an easy target even with the pistol.
Deadeye Target #2
You can spot the second Deadeye Target from many places on the south side of the map, but it’s easier to do it while you stand on the road that goes from the barracks to the radar dish. Look for the Eagle on the bunker that’s protruding from the ground.
Deadeye Target #3
The third Deadeye Target is on the top of the Nazi facility where you destroy the arc rectifiers. Exit the facility through the point that leads to the area with the radar dish and use the metal stairs to reach the top. Grab the ledge and climb up.
The Stone Eagle should be right in front of you, on the building, at pistol range. Alternatively, you can shoot it from ground level, but it’s a tricky shot if you don’t find a proper position.
Mission 7: Giovi Fiorini Mansion

Deadeye Target #1
The first Deadeye Target is easy to get. Go to Rothbauer’s mansion to find the Stone Eagle standing above the main entrance, just below the Italian flag. You can even use your pistol if you like.
Deadeye Target #2
You can spot the second Deadeye Target from the small bridge connecting the southern part of the town – although a better spot would be the third floor of the nearby building. The Stone Eagle is almost at the center of the town, on the small roof of a square tower (look for an Italian flag).
Deadeye Target #3
The last Stone Eagle is conveniently placed next to your objective. It stands above the main entrance of the building guarded by the dangerous sniper that you have to kill (once again, it is placed under an Italian flag). Since it’s so close to the ground, a pistol round should do the trick.
Mission 8: Allagra Fortress

Deadeye Target #1
You can snipe two Deadeye Targets while standing on the bridge in front of the main entrance of the fortress.
With the fortress behind you, look to your right to spot the Stone Eagle standing on the cliffs of the mountain on the right. It’s almost at the base of the mountain, so use your binoculars.
Deadeye Target #2
Now turn around and look east to see the second Stone Eagle perched on a rock outcropping. As a reference, point the binoculars behind the dead tree, at about half its height.
Deadeye Target #3
The final Deadeye Target in Mission 8 is in the fortress, inside the large hangar that leads to the airstrip. The Stone Eagle sits on top of the command/radio center that sports the Nazi eagle logo. Shoot the statue with you sniper rifle.
All 30 dead eye targets? Looks like someone doesn’t know how to count.
Notice the WORK IN PROGRESS!!! warning above 😉
You have them all. There’s only 24. The 9 in Mission 6 is a typo!
We know about the bug in Mission 6, but there are actually 30. Both Overwatch missions feature collectibles. We just didn’t covered them and we didn’t knew that those are co-op missions when we started working on the game, hence the “wrong” numbers in the article titles.
Read my comment below, please.