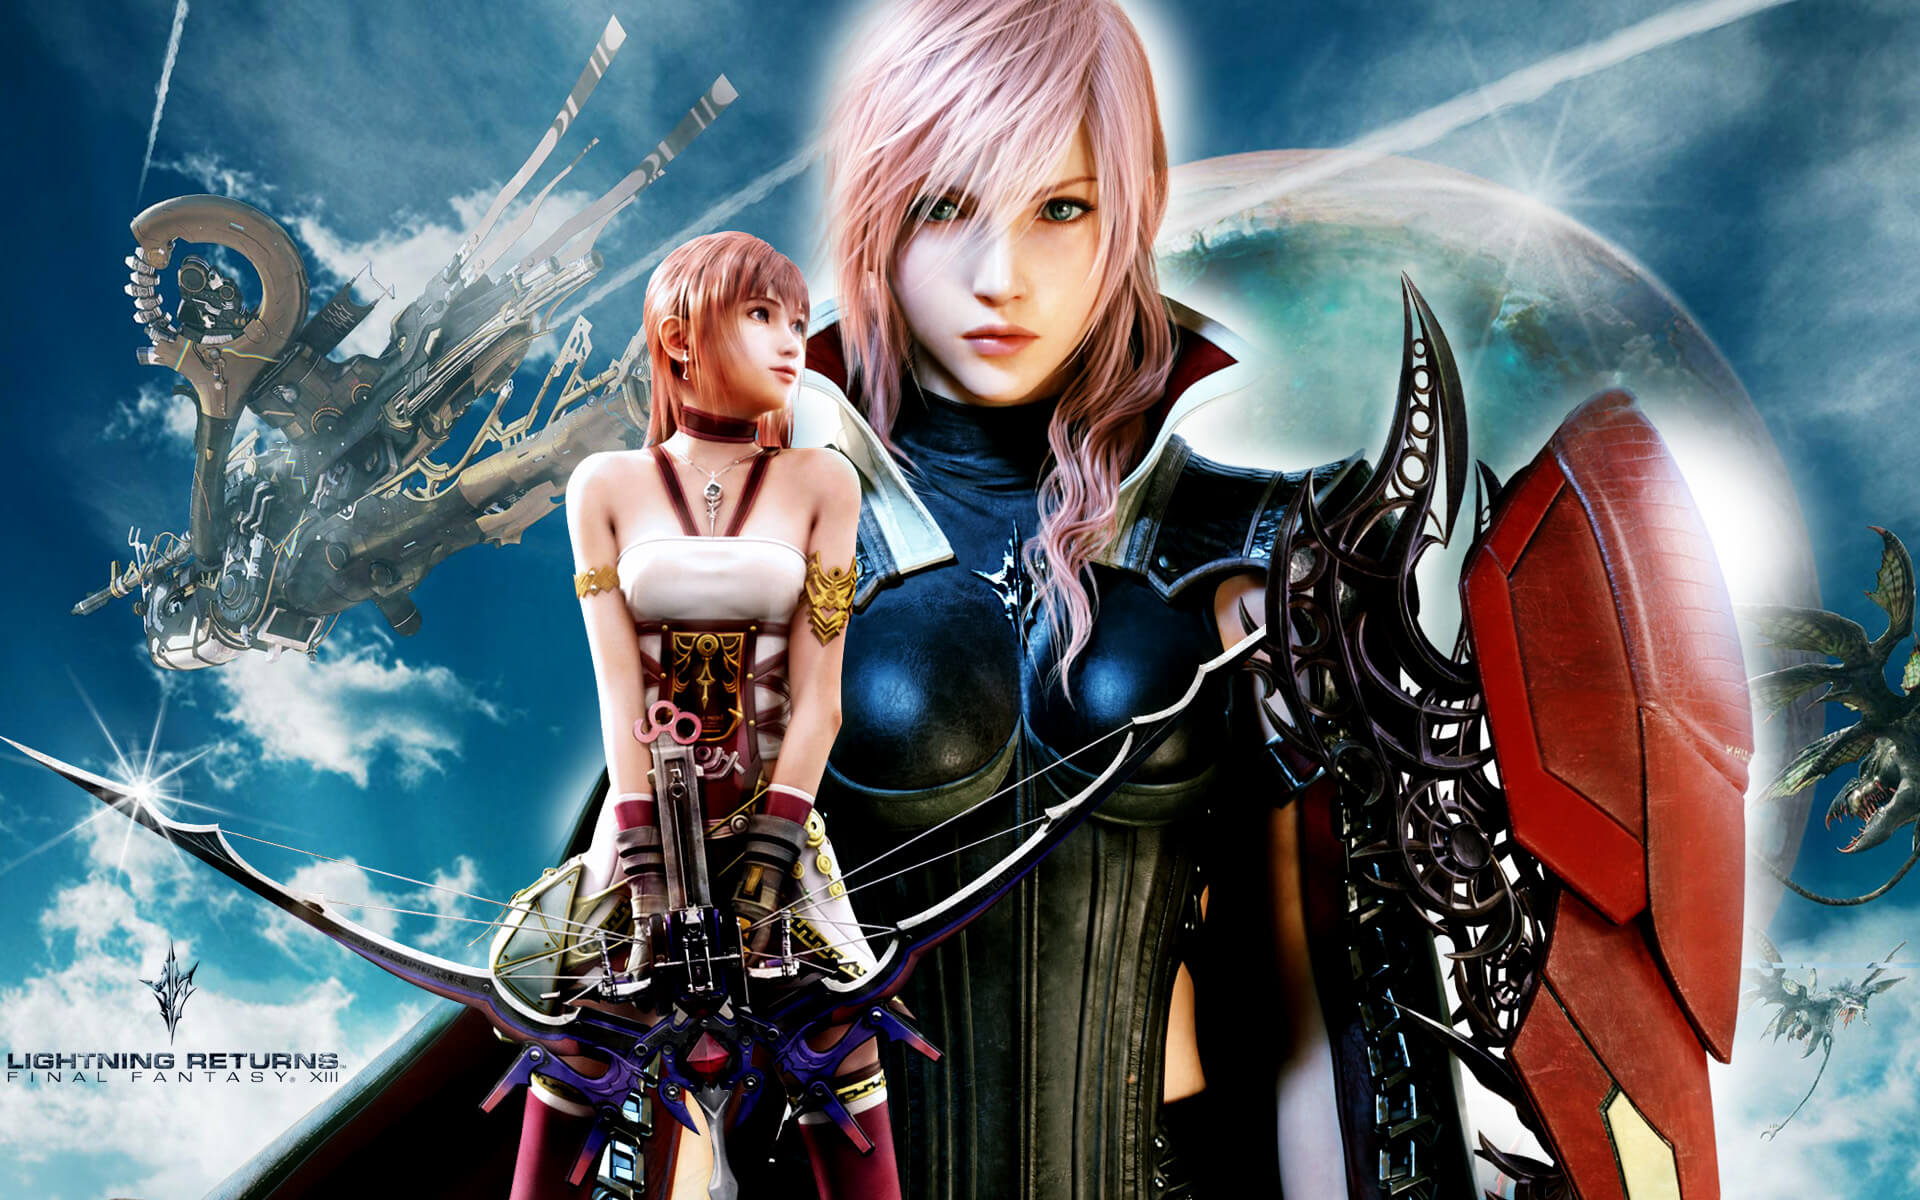

Lightning Returns: Final Fantasy XIII A Different Snow is the first main-quest in the video game published by Square Enix for PlayStation 3, Xbox 360.
The quest begins after the introductory cutscene and being the first mission, it has the role to introduce you the combat system, as well as the game’s story.
Before starting the quest, it is important to be aware that the combat system in Lightning Returns: Final Fantasy XIII suffered several modifications, being slightly different than the one experienced in Final Fantasy XIII-2; which means that the tutorials should be accessed even if you are an experienced player.
For new players, the tutorials are necessary to learn the game’s basics. Additionally, you should be advised that the walkthrough was created while playing the video game on normal difficulty; therefore, the rewards as well as the tactics used in the upcoming battles might be different from those available if you play the game on easy.
Our Lightning Returns: Final Fantasy XIII walkthrough; however, will teach you how to beat the game, how to complete all main quests and side-quests and how to defeat all bosses. It offers hints on the tactics you should use, as well as useful information needed during the game.
Be advised that Lightning Returns: Final Fantasy XIII features a vast number of side-quests (66) and Canvas Of Prayers quests (88).
While the main-quests and side-quests have been treated independently in our walkthrough, the Canvas Of Prayers quests feature their own sections, based on the areas where you can trigger them.
Once you are ready to begin your adventure, watch the introductory cutscene presenting Lightning and Snow.
Quest Details
Description: “Lightning steps into the grand ballroom that lies at the heart of Yusnaan and confronts snow, ruler of the city. He makes it clear that the reunion is not welcome, and the pair cross swords. But before their conflict can escalate, they must deal with monsters that have emerged from the Chaos.”
Location: Yusnaan
Requirements: N/A
Failable: No
Rewards: N/A
Quest Walkthrough
The moment the cutscene ends, you will be sent into a battle against Anubys, a Chaos monster. At this point you will be able to learn more about how a Schemata works and about the interface.
To complete the tutorial, use The Savior Schemata and attack Anubys until you deplete the ATB bar, then switch to the Dark Muse Schemata and repeat the step. Keep your eyes on the ATB bar and switch between Schematas to defeat Anubys using only normal attacks.
Once the battle ends, you will be able to learn more about the camera settings, and you should see three additional enemies. Head towards them and make sure you attack first, and in the next battle your enemy will start with a penalty. Your next goal is to clear the room by defeating all enemies.
The moment you start the fight against the second Anubys, you will trigger a tutorial teaching you how to parry incoming attacks and how to use Guard. Knowing how to guard and how to deflect an attack at the right moment is crucial in the game, so make sure you complete the said tutorial.
Next, defeat all creatures in the room and experience different attacks, although, the normal attacks are the most powerful against Niblets and Anubys. When you manage to defeat all enemies, you should see a door that opens.
Follow the stairs and you will eventually encounter a Black Market Dealer. Talk to him in order to start a new tutorial teaching you how to buy items. Make sure you fill your inventory with potions (they are free), then head upstairs and go left following Snow. In the next corridor you will encounter more enemies and you will also learn how to switch targets on the battlefield.
Make sure you read all instructions, because in most battles you will encounter more than one enemy.
Once you defeat another Anubys and a Niblet, continue down the corridor and jump on the crates following Snow. As you cross the next corridor, you will enter a large hall and you will see Snow going left. Climb the ladder on the left side of the hall, and push forward defeating more Niblets. At the end of the next corridor, you will find a gate.
Push the button on the pillar nearby (right side while facing the gate), and eventually you will enter a new hall where you will find Lumina. Watch the next-cutscene and get ready to fight against a more powerful creature, known as Zaltys. Luckily the fight is also part of the next-tutorial, in which you will learn how to stagger your enemies. Zaltys is different from all creatures you have defeated so far, because he is almost invulnerable to normal attacks; however, the demon also has a weak spot.
Assuming that you follow the tutorial, you will learn that the demon is vulnerable to Thunder, and that you can stagger him using this spell. Start by casting Thunder while The Savior Schemata is activated, until you deplete the ATB bar, then switch to The Dark Muse, and continue to attack.
Switch back to The Savior Schemata and cast Thunder again, then repeat. Don’t forget to guard the attacks and eventually you will stagger Zaltys. Now activate Overclock, and unleash Lightning’s full power against your opponent. After you defeat it you will get the Firewyrm Scale. The next step is to approach the door in front of you and watch the final cutscene. When it ends you will enter The Ark.
While in the Ark, you will be inside a safe-zone, where you won’t encounter any enemies, and you will be able to customize Lightning. During your first visit you should see several cubes on the ground.
Make sure you collect all of them before talking to Hope. Inside them you will find important items such as Mist Wizard, Blizzard Lv.1, Light Guard Lv. 1, Prytwen shield, and the Devil’s Daughter sword.
After you collect these items, you will learn how to create your own Schemata (Mist Wizard) following the new tutorial. As a side-note, during each morning, you will automatically return to the Ark, where you will find new cubes.
Make sure you collect all of them as soon as you arrive. Once you are ready to start the next quest, talk to hope and use the teleporter to enter Luxerion. The next quest you have to complete is An Evil Savior.